
This article is going to walk you through an actual scenario where you will install Ubuntu Server on VMWare. You will learn the step-by-step installation process, configure standard settings such as updating the installer, configure an IP address, configure disks, add a root user account and configure a hostname, configure remote access using SSH, and finally, perform post-installation updates.
Prerequisites
To follow along, make sure you have the following installed:
- The latest Ubuntu Server ISO
- VMWare ESXi, Player or Workstation
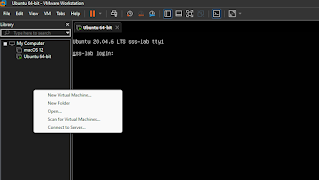
Add New Virtual Machine
From the VMWare software, right click on the Library on the left hand side, and choose New Virtual Machine:
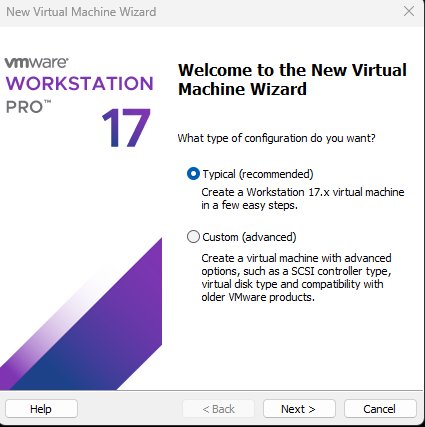
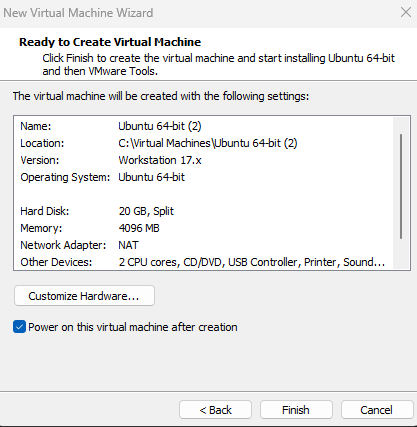
You will be greeted with the New Virtual Machine Wizard, and simply go for the default recommended options:
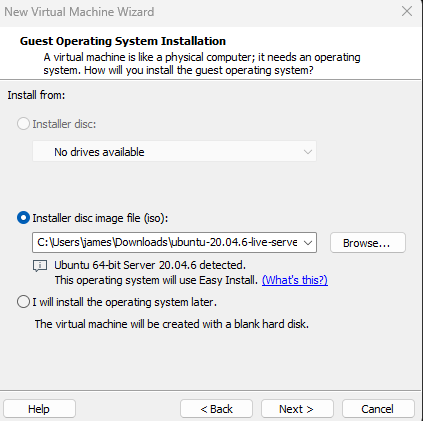
Make sure to go load your ISO as the Installer disc image file:
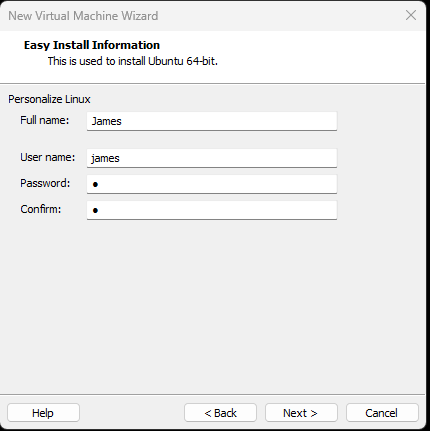
And then choose suitable username / password for your virtual machine:
Your new virtual machine will now boot with the Linux Installation process.
Installing the Linux operating system
This is actually the easiest part since you simply follow the on-screen instructions. For the most part, just choose the default options and click on Next.


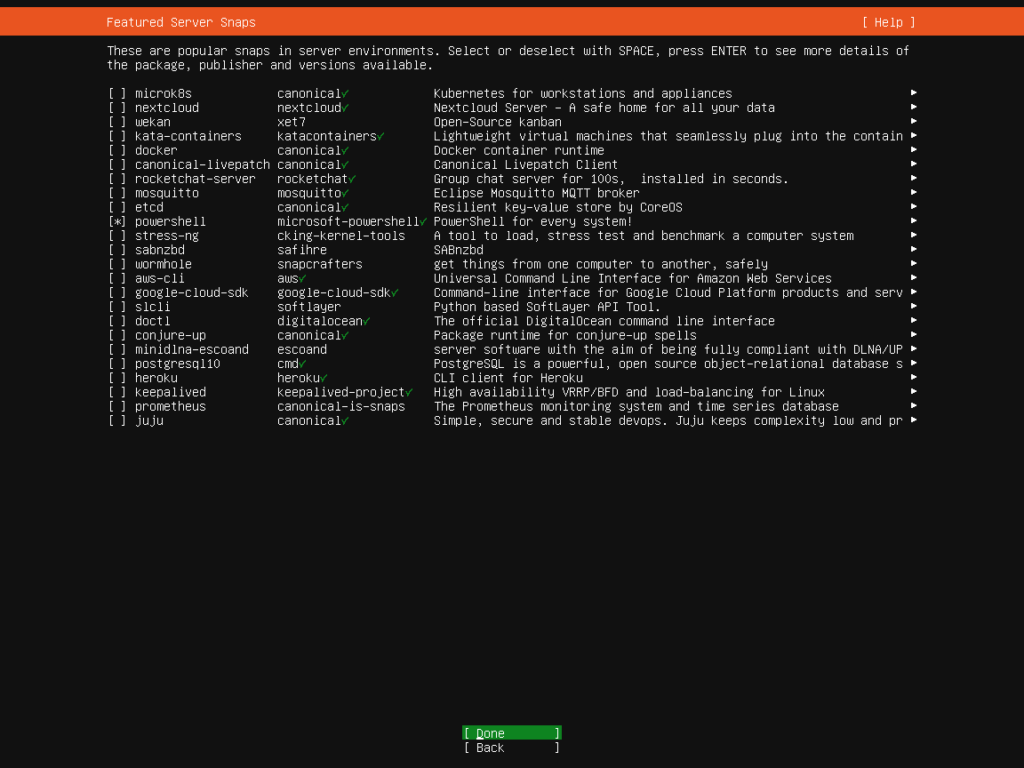
In the next screen there is no need to install any features, however to install anything you deem interesting for you:
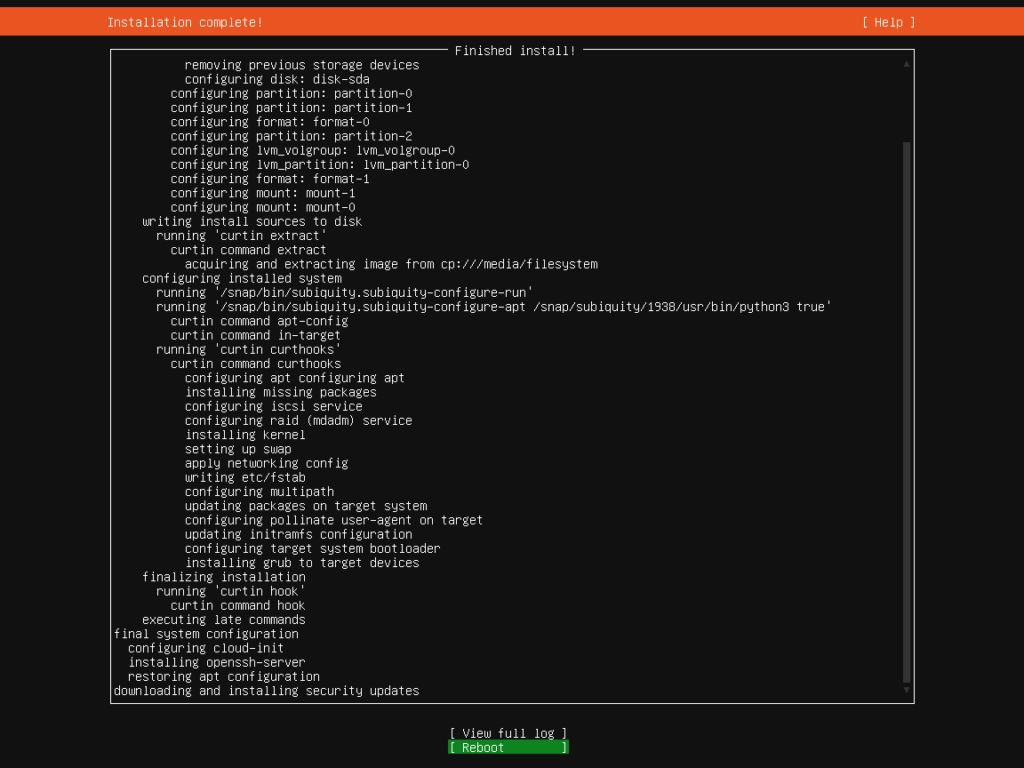
Now the system will take some time to complete the installation. When this step is ready, you will be asked to reboot:
After the reboot, you can enter the system using the username and password that you created in the User Profile step. Once you log inside the system, determine the IP address of your machine by entering the following command:
Access the Virtual Machine using SSH
In the installation process described in the previous steps, an SSH server was installed. It is recommended to use the system using an SSH terminal such as Powershell, rather than the VMWare console. You can ssh into your system by using the following syntax:

Update your Ubuntu Server
Now that you have accessed your machine through SSH, you can update all your packages and software by running this command:


